Today I’m working on a painting of the “White by the Gate” camellias blooming in my garden. In spite of some near freezing temperatures this week, it is loaded with blooms and not showing much cold damage. This variety has an unusual form of two buds back-to-back on opposite sides of the stem, making it tricky to arrange in a vase. I like the contrast of the soft round white blooms and the pointy oval glossy green leaves.
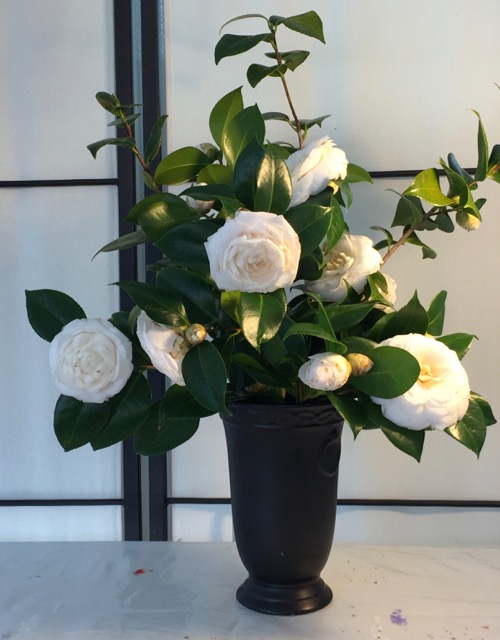
“White by the Gate” Camellias
I started blocking in my painting on a recycled 20×16 inch panel that already had white, purple, and green colors on it.
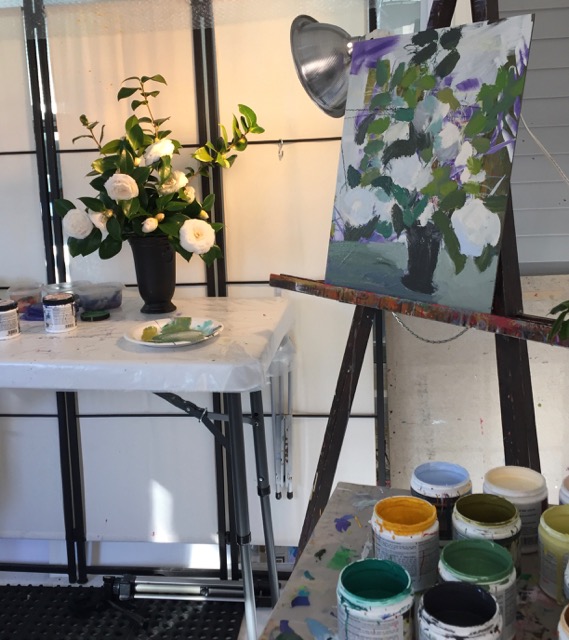
Studio set up for camellia painting

Camellia WIP #1
In the next layer, I cut in the back ground, then “messed it up” with a brayer while the paint was still tacky.

Camellia WIP #2
After that layer dried, I drew with pastels, repainted the background to add shape to the leaves, and threw paint to create drips.

Camellia WIP #3
This is where I stopped for today. After giving it a chance to dry throughly, I’ll continue the push-pull of blurring and refining until I’m satisfied. The process of working in layers adds depth and texture that can’t be achieved in one pass. By next week, I should have more photos of the process and the finished piece.