Last week we talked about incorporating stencils in your acrylic paintings. To personalize your design, you can create your own stencil.

In this example, I am showing the steps to create a stencil of a cicada, the symbol of good luck in Provence, to use in my series of paintings inspired by my recent trip.
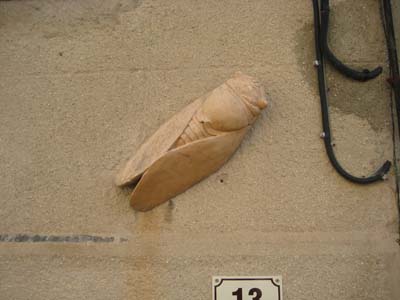
The first step is to start with a simple image of a terracotta cicada on the wall of a house.

To isolate the image, crop the photo and print it in black and white.
Trace the outline, being sure to completely enclose the shapes that will be cut away.

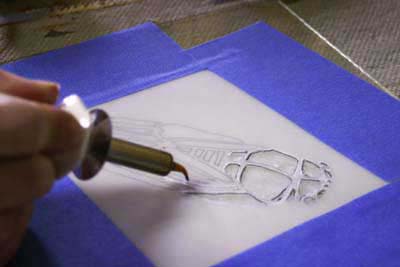
Tape a piece of clear blank stencil plastic over the drawing onto a piece of glass. Cut the stencil using a craft knife or a heat tool with a sharp point. Pop out the cut-away shapes and clean up the edges if necessary.
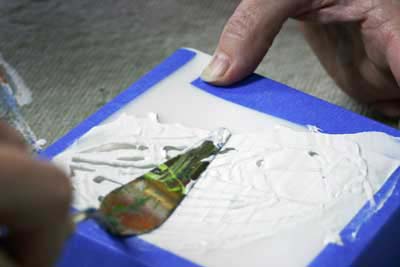
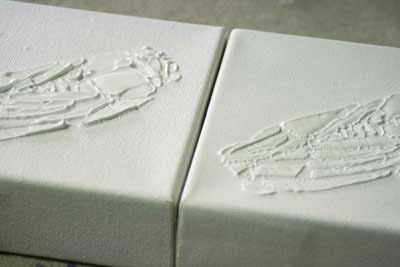
 Tape the stencil to your canvas or board and cover it with a layer of molding paste about 1/8 to 1/4 of an inch thick. Carefully lift the stencil and let the molding paste dry overnight. Clean the stencil before the paste dries on it.

Try varying the thickness of molding paste to see what works best with your stencil.
Next week…. Adding color over the stencil.